NextCloud 19.0.3 Installation with AD, Nginx, Redis, OnlyOFFICE, ClamAV and Cryptomator
Updated:
We will install NextCloud version 19.0.3 in CentOS 7 along with Clamav version 0.102.4, MySQL DB version 8, PHP 7.4, Redis version 3.2.12 and Nginx as web server.
Introduction
Nextcloud is an open-source file hosting application that allows users to create their own cloud storage network using their own servers or personal computers. NextCloud is written in PHP and Javascript language. It is a free software alternative to services like Google Drive, Dropbox, or iCloud. For users looking to have more control over how and where their data is stored, Nextcloud is an obvious choice.
Nextcloud was forked from another free, open-source project called OwnCloud back in 2016, and aims to offer a private cloud solution for those who need it. This isn’t a single client-server solution where you sign up and get a cloud drive like you would with Apple or Google: instead, it’s a suite of tools working around the Nextcloud platform to provide an entirely customer-tailored solution. Nextcloud will handle your files, contacts, calendars, and comes with apps for Windows, macOS, Linux, Android and iOS. There’s also a chat and web collaboration tool called Nextcloud Talk (which includes a Zoom-like video chat component).
Features:
FILES:
~ File Storage (Upload, synch, comments, tags, multiple versions, move files via the web interface.)
~ File-Sharing (Share via user, email, link, social media sites, password protection and expiration date. Can allow a user without an account (just email) to edit a document.)
~ Online Office Integration
~ PDF Viewer
~ Photo Galleries
~ Activity Tracking for files
~ Large File Support
~ Storage Limitation per User
~ File Access Control
~ File Locking
CLIENTS:
~ Web Client Present
~ Desktop Clients: Windows, Mac, Linux
~ Mobile Clients: Android, iOS
APPS:
~ App Store/MarketPlace: More than 120apps listed in the NextCloud app store
~ Audio/Video Chat: includes push notifications.
~ Audio/Video Player
~ Calendar App
SECURITY:
~ Two Factor Authentication: yes. Multiple methods available, plus enforcement
~ Brute Force Protection: for both core and apps
~ Rate Limiting
OTHER FEATURES:
~ User Groups: Circles app allows your users to create their own groups of users/colleagues/friends
~ API
~ External Storage Integration
~ Resource Monitoring
~ Third-Party Authentication
~ Theme
~ Role-Based Administration
MySQL 8 Installation
rpm -Uvh https://repo.mysql.com/mysql80-community-release-el7-3.noarch.rpm
sed -i 's/enabled=1/enabled=0/' /etc/yum.repos.d/mysql-community.repo
yum --enablerepo=mysql80-community install mysql-community-server
rpm -qa | grep mysql
systemctl start mysqld
grep "A temporary password" /var/log/mysqld.log
mysql_secure_installation
Create a database for NextCloud.
CREATE USER 'next_cloud'@'localhost' IDENTIFIED BY '********';
CREATE DATABASE IF NOT EXISTS nextcloud CHARACTER SET utf8mb4 COLLATE utf8mb4_general_ci;
GRANT ALL PRIVILEGES on nextcloud.* to 'next_cloud'@'localhost';
FLUSH privileges;
mkdir /var/log/mysql
chown -R mysql: /var/log/mysql
Add parameters to /etc/my.cnf file.
vim /etc/my.cnf
[server]
skip-name-resolve
innodb_buffer_pool_size = 128M
innodb_buffer_pool_instances = 1
innodb_flush_log_at_trx_commit = 2
innodb_log_buffer_size = 32M
innodb_max_dirty_pages_pct = 90
tmp_table_size= 64M
max_heap_table_size= 64M
slow-query-log = 1
slow-query-log-file = /var/log/mysql/slow.log
long_query_time = 1
wait_timeout = 28800
interactive_timeout = 28800

[mysqld]
character-set-server = utf8mb4
collation-server = utf8mb4_general_ci
transaction_isolation = READ-COMMITTED
binlog_format = ROW
#innodb_large_prefix=on
#innodb_file_format=barracuda
innodb_file_per_table=1
systemctl restart mysqld
systemctl enable mysqld
Install PHP 7.4 and modules
yum install https://rpms.remirepo.net/enterprise/remi-release-7.rpm
yum --enablerepo=remi-php74 install php php-fpm
yum install php-gd php-mbstring php-intl php-pecl-apcu php-mysqlnd php-opcache php-json php-xml php-bcmath php-gmp php-ldap php-ctype php-curl php-dom php-iconv php-libxml php-openssl php-posix php-session php-simplexml php-xmlreader php-xmlwriter php-zip php-zlib php-pdo_mysql php-bz2 php-fileinfo php-intl php-bcmath php-ftp php-imagick
php-fpm setup
vim /etc/php-fpm.d/php74-nextcloud.conf
[php74-nextcloud]
;prefix = fpm/pools/$pool
user = nginx
group = nginx
listen = /var/run/php74-nextcloud.sock
listen.owner = nginx
listen.group = nginx
listen.mode = 0660
pm.status_path = /fpmstats
ping.path = /ping
request_terminate_timeout = 900
slowlog = /var/log/fpm-slow/$pool.log.slow
request_slowlog_timeout = 60
env[HOSTNAME] = $HOSTNAME
env[PATH] = /usr/local/sbin:/usr/local/bin:/sbin:/bin:/usr/sbin:/usr/bin:/root/bin
pm = dynamic
pm.max_children = 120
pm.start_servers = 12
pm.min_spare_servers = 6
pm.max_spare_servers = 18
The OPcache improves the performance of PHP applications by caching precompiled bytecode so add the below lines.
vim /etc/php.ini
opcache.enable=1
opcache.enable_cli=1
opcache.interned_strings_buffer=8
opcache.max_accelerated_files=10000
opcache.memory_consumption=128
opcache.save_comments=1
opcache.revalidate_freq=1
php-fpm -t
systemctl start php-fpm
systemctl enable php-fpm
Configure Nginx
yum install nginx
configure nginx for drive.bidhankhatri.com.np
vim /etc/nginx/conf.d/drive.bidhankhatri.com.np
upstream php-handler {
    server unix:/var/run/php74-nextcloud.sock;
    }

server {
    listen 80;
    listen [::]:80;
    server_name drive.bidhankhatri.com.np;
    # enforce https
    return 301 https://$server_name:443$request_uri;
    }

server {
    listen 443 ssl;
    listen [::]:443 ssl ;
    server_name drive.bidhankhatri.com.np;

    # Use Mozilla's guidelines for SSL/TLS settings
    # https://mozilla.github.io/server-side-tls/ssl-config-generator/
    # NOTE: some settings below might be redundant
    include /etc/nginx/ssl/bidhankhatri.com.np.ssl.conf;
    # Add headers to serve security related headers
    # Before enabling Strict-Transport-Security headers please read into this
    # topic first.
    #add_header Strict-Transport-Security "max-age=15768000; includeSubDomains; preload;" always;
    #
    # WARNING: Only add the preload option once you read about
    # the consequences in https://hstspreload.org/. This option
    # will add the domain to a hardcoded list that is shipped
    # in all major browsers and getting removed from this list
    # could take several months.
    add_header Referrer-Policy "no-referrer" always;
    add_header X-Content-Type-Options "nosniff" always;
    add_header X-Download-Options "noopen" always;
    add_header X-Frame-Options "SAMEORIGIN" always;
    add_header X-Permitted-Cross-Domain-Policies "none" always;
    add_header X-Robots-Tag "none" always;
    add_header X-XSS-Protection "1; mode=block" always;
    add_header Strict-Transport-Security "max-age=15768000; includeSubDomains; preload;" always;

    # Remove X-Powered-By, which is an information leak
    fastcgi_hide_header X-Powered-By;

    # Path to the root of your installation
    root /var/www/html/nextcloud;

    location = /robots.txt {
    allow all;
    log_not_found off;
    access_log off;
    }

    # The following 2 rules are only needed for the user_webfinger app.
    # Uncomment it if you're planning to use this app.
    #rewrite ^/.well-known/host-meta /public.php?service=host-meta last;
    #rewrite ^/.well-known/host-meta.json /public.php?service=host-meta-json last;

    # The following rule is only needed for the Social app.
    # Uncomment it if you're planning to use this app.
    #rewrite ^/.well-known/webfinger /public.php?service=webfinger last;

    location = /.well-known/carddav {
    return 301 $scheme://$host:$server_port/remote.php/dav;
    }

    location = /.well-known/caldav {
    return 301 $scheme://$host:$server_port/remote.php/dav;
    }

    # set max upload size
    client_max_body_size 1G;
    fastcgi_buffers 64 4K;

    # Enable gzip but do not remove ETag headers
    gzip on;
    gzip_vary on;
    gzip_comp_level 4;
    gzip_min_length 256;
    gzip_proxied expired no-cache no-store private no_last_modified no_etag auth;
    gzip_types application/atom+xml application/javascript application/json application/ld+json application/manifest+json application/rss+xml       application/vnd.geo+json application/vnd.ms-fontobject application/x-font-ttf application/x-web-app-manifest+json application/xhtml+xml application/xml font/opentype image/bmp image/svg+xml image/x-icon text/cache-manifest text/css text/plain text/vcard text/vnd.rim.location.xloc text/vtt text/x-component text/x-cross-domain-policy;

    # Uncomment if your server is build with the ngx_pagespeed module
    # This module is currently not supported.
    #pagespeed off;

    location / {
    rewrite ^ /index.php;
    }

    location ~ ^\/(?:build|tests|config|lib|3rdparty|templates|data)\/ {
    deny all;
    }

    location ~ ^\/(?:\.|autotest|occ|issue|indie|db_|console) {
    deny all;
    }

    location ~ ^\/(?:index|remote|public|cron|core\/ajax\/update|status|ocs\/v[12]|updater\/.+|oc[ms]-provider\/.+|.+\/richdocumentscode\/proxy)\.php(?:$|\/)       {
    fastcgi_split_path_info ^(.+?\.php)(\/.*|)$;
    set $path_info $fastcgi_path_info;
    try_files $fastcgi_script_name =404;
    include fastcgi_params;
    fastcgi_param SCRIPT_FILENAME $document_root$fastcgi_script_name;
    fastcgi_param PATH_INFO $path_info;
    fastcgi_param HTTPS on;
    # Avoid sending the security headers twice
    fastcgi_param modHeadersAvailable true;
    # Enable pretty urls
    fastcgi_param front_controller_active true;
    fastcgi_pass php-handler;
    fastcgi_intercept_errors on;
    fastcgi_request_buffering off;
    fastcgi_read_timeout 1000;
    }

    location ~ ^\/(?:updater|oc[ms]-provider)(?:$|\/) {
    try_files $uri/ =404;
    index index.php;
    }

    # Adding the cache control header for js, css and map files
    # Make sure it is BELOW the PHP block
    location ~ \.(?:css|js|woff2?|svg|gif|map)$ {
    try_files $uri /index.php$request_uri;
    add_header Cache-Control "public, max-age=15778463";
    # Add headers to serve security related headers (It is intended to
    # have those duplicated to the ones above)
    # Before enabling Strict-Transport-Security headers please read into
    # this topic first.
    add_header Strict-Transport-Security "max-age=15768000; includeSubDomains; preload;" always;
    #
    # WARNING: Only add the preload option once you read about
    # the consequences in https://hstspreload.org/. This option
    # will add the domain to a hardcoded list that is shipped
    # in all major browsers and getting removed from this list
    # could take several months.
    add_header Referrer-Policy "no-referrer" always;
    add_header X-Content-Type-Options "nosniff" always;
    add_header X-Download-Options "noopen" always;
    add_header X-Frame-Options "SAMEORIGIN" always;
    add_header X-Permitted-Cross-Domain-Policies "none" always;
    add_header X-Robots-Tag "none" always;
    add_header X-XSS-Protection "1; mode=block" always;

    # Optional: Don't log access to assets
    access_log off;
    }

    location ~ \.(?:png|html|ttf|ico|jpg|jpeg|bcmap|mp4|webm)$ {
    try_files $uri /index.php$request_uri;
    # Optional: Don't log access to other assets
    access_log off;
    }
}
nginx -t
systemctl start nginx
systemctl enable nginx
Install NextCloud 19.0.3
wget https://download.nextcloud.com/server/releases/nextcloud-19.0.3.zip
unzip nextcloud-19.0.3.zip
mv nextcloud /var/www/html/
chown -R nginx: /var/www/html/nextcloud
Now browse to https://drive.bidhankhatri.com.np and start nextcloud set up.
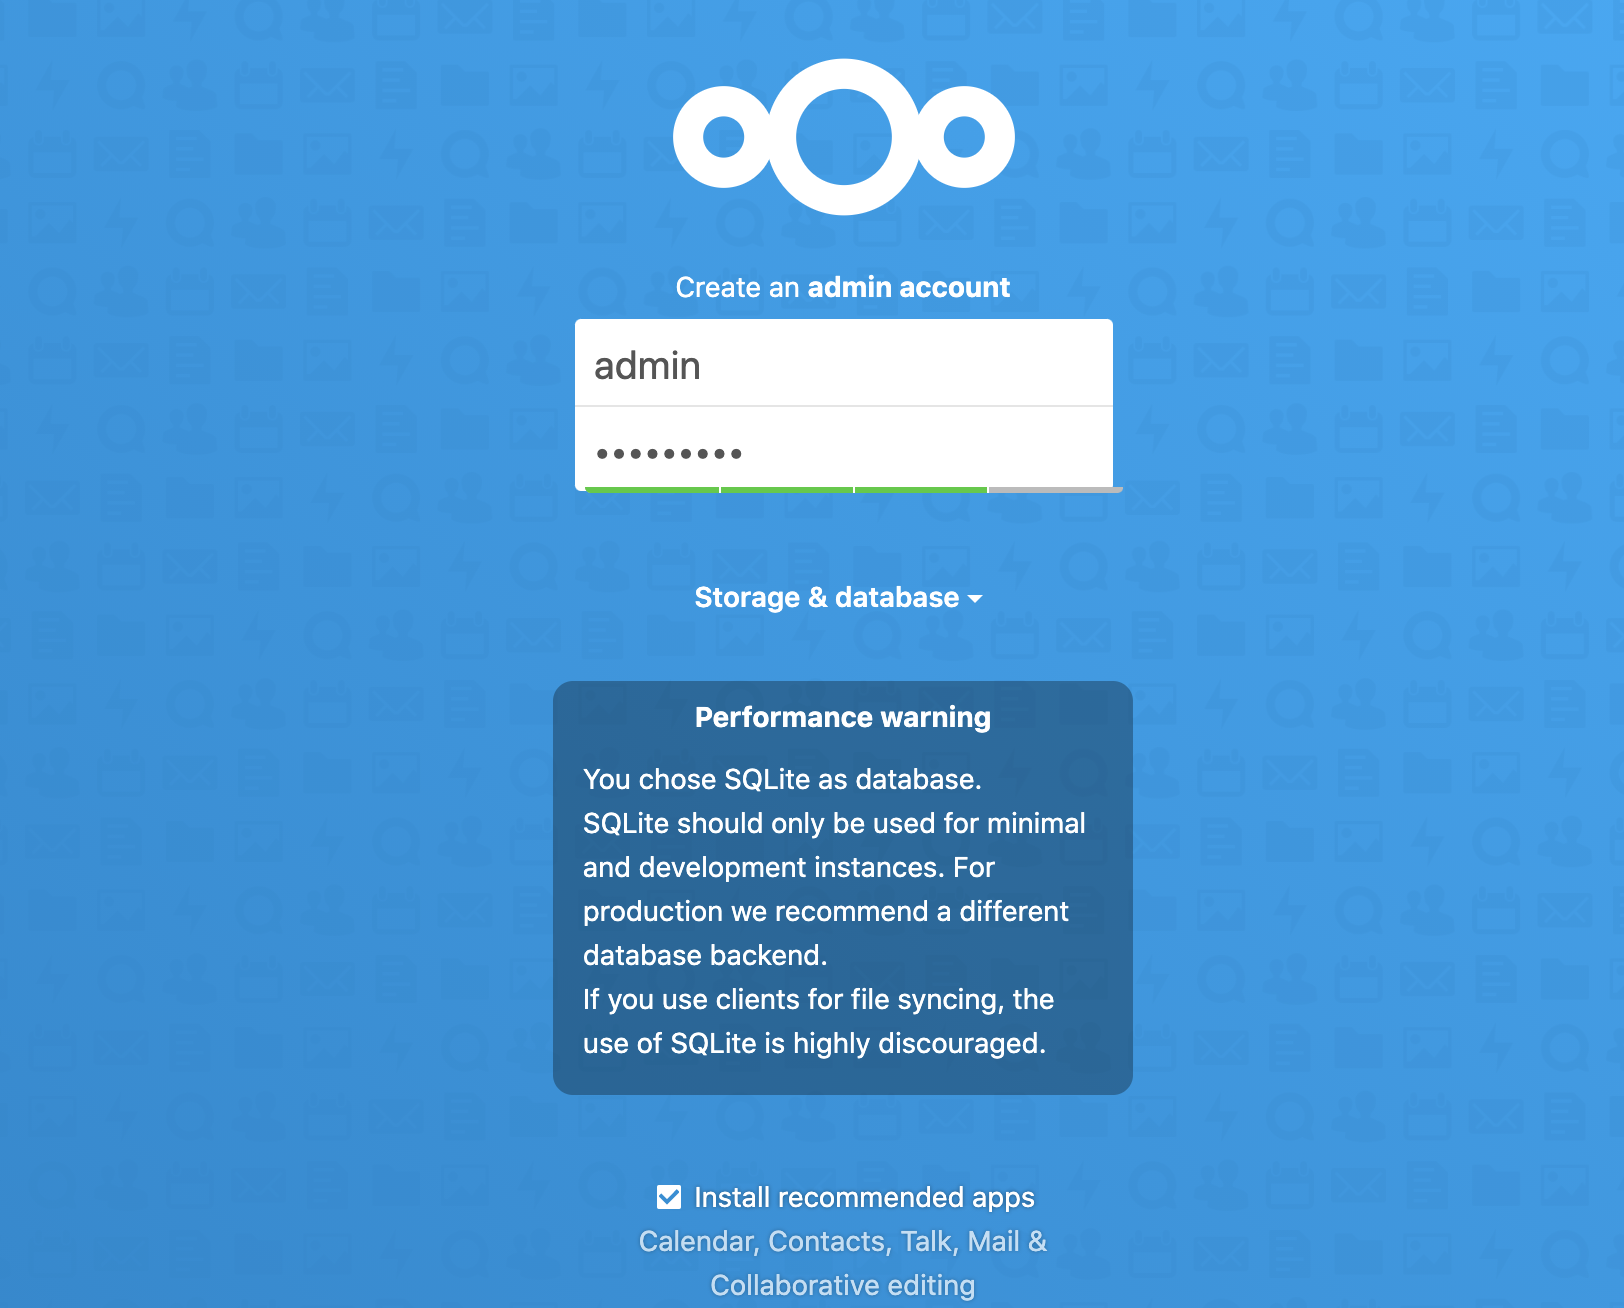
fig.1 Create an admin account and click on Storage & database dropdown.
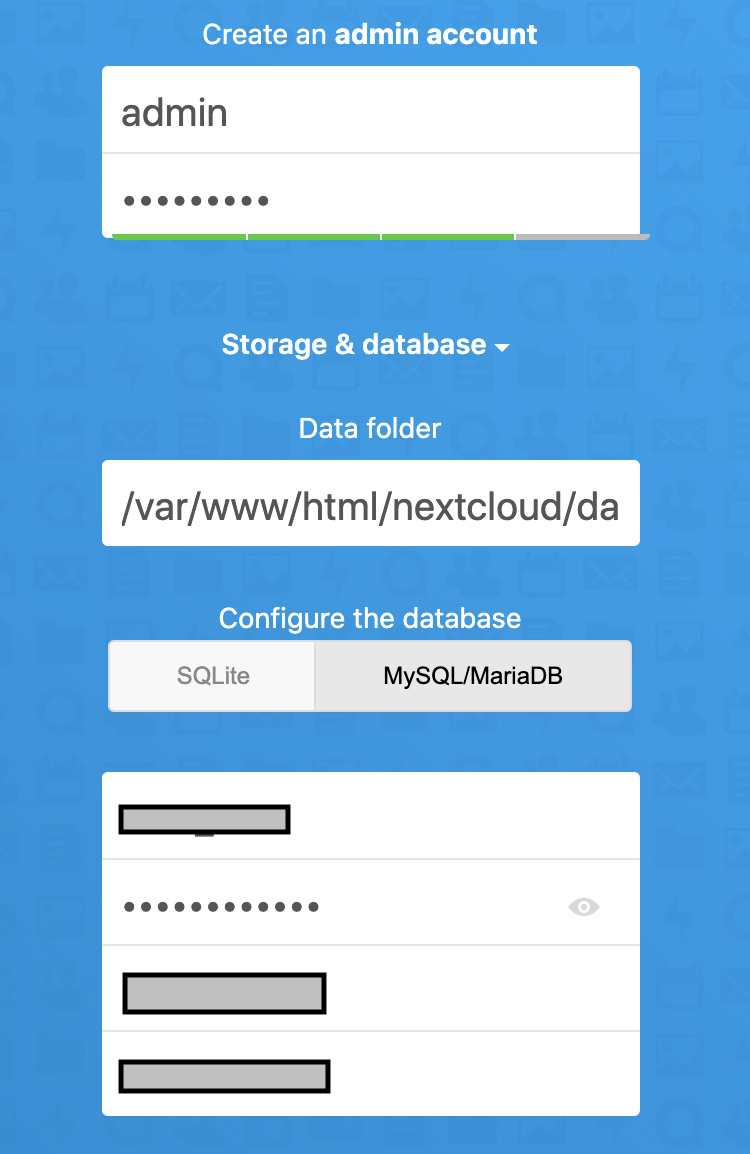
fig.2 Click on MySQL/MariaDB and provide database details.
We have successfully configured NextCloud. Now you can access drive through drive.bidhankhatri.com.np
Memory Caching
We can significantly improve our Nextcloud server performance with memory caching, where frequently-requested objects are stored in memory for faster retrieval.
There are two types of caches to use: a PHP opcode cache, which is commonly called opcache, and data caching for your Web server.
A PHP opcache stores compiled PHP scripts so they don’t need to be re-compiled every time they are called. PHP bundles the Zend OPcache in core since version 5.5, so we don’t need to install an opcache manually.
Data caching is supplied by the user (APCu), Memcached or Redis. So, we are going to install Redis for NextCloud data caching.
yum install php-redis php-pecl-redis
yum install redis
Add below lines in nextcloud config file for Redis.
vim /var/www/html/nextcloud/config/config.php
'memcache.local' => '\\OC\\Memcache\\APCu',
'memcache.distributed' => '\\OC\\Memcache\\Redis',
'memcache.locking' => '\\OC\\Memcache\\Redis',
'redis' =>
array (
'host' => 'localhost',
'port' => 6379,
),
Add below parameters in /etc/sysctl.conf file for redis.
vim /etc/sysctl.conf
vm.overcommit_memory = 1
net.core.somaxconn=65535
systemctl start redis
systemctl enable redis
Verify that Redis is running with redis-cli:
If Redis is running, it will return:
PONG
redis-cli ping
PONG
ps ax | grep redis
5835 pts/2 S+ 0:00 grep --color=auto redis
26683 ? Ssl 54:44 /usr/bin/redis-server 127.0.0.1:6379
User authentication with LDAP
Nextcloud ships with an LDAP application to allow LDAP users (including Active Directory) to appear in your Nextcloud user listings. These users will authenticate to Nextcloud with their LDAP credentials, so you don’t have to create separate Nextcloud user accounts for them. You will manage their Nextcloud group memberships, quotas, and sharing permissions just like any other Nextcloud user.
We will authenticate NextCloud users through our Active Directory.
login nextcloud through admin. Go to Apps and enable LDAP user and group backend Now go settings and then Administration Section and LDAP / AD integration and configure it.
I’ve created an AD user “ncadmin” for Nextcloud authentication.
Now configure your LDAP part.
Host: dc.bidhankhatri.com.np
Port: 389
User DN: CN=ncadmin,OU=Exchange Users,DC=bidhankhatri,DC=com.np
Password: *
One Base DN per line: DC=bidhankhatri,DC=com.np
ONLYOFFICE integration with Nextcloud
ONLYOFFICE empowers users to collaborate on office documents with their team members in real-time. It is compatible with Microsoft Office formats which means perfect documents, every time.
OnlyOffice is a paid software so the limitation is 20 simultaneous users in the free community edition.
ONLYOFFICE comes with:
Powerful spreadsheet editor
Organize and manage your data online in XLSX, ODS and CSV files with over 400 formulas and create colorful visualizations.
Beautiful presentation builder
Express ideas in beautiful presentations stored in PPTX and ODP or exported to PDF full of charts, shapes, and images.
Complete document writer
Open, edit and collaborate on Word, ODT, PDF or HTML documents in real-time with powerful formatting and layout capabilities.
Step 1: Install Community Document Server app first. Use the search keywords ‘document’ or ‘community’ in the app installation screen in Nextcloud. For installation from the command line, use: occ app:install documentserver_community (Please note: installation will take a while as the app is big). If it takes long time to download then you may have to increase max_execution_time in php.ini file.
max_execution_time = {number of seconds i.e. 60 for one minute}
Step 2: Next, install the OnlyOffice App. Use the search keywords ‘onlyoffice’ in the app installation screen in Nextcloud. For installation from the command line, use: sudo -u nginx php occ app:install onlyoffice.
Installing ClamAV
We can configure our Nextcloud server to automatically run a virus scan on newly-uploaded files with the Antivirus app for Files. The Antivirus app for Files integrates the open source anti-virus engine ClamAV with Nextcloud. ClamAV detects all forms of malware including Trojan horses, viruses, and worms, and it operates on all major file types including Windows, Linux, and Mac files, compressed files, executables, image files, Flash, PDF, and many others. ClamAV’s Freshclam daemon automatically updates its malware signature database at scheduled intervals.
yum install epel-release
yum install clamav clamav-scanner clamav-scanner-systemd clamav-server clamav-server-systemd clamav-update
freshclam updates the malware database, so we want it to run frequently to get updated malware signatures. The EPEL packages do not include an init file for freshclam, so the quick and easy way to set it up for regular checks is with a cron job. This example runs it every hour at 47 minutes past the hour:
47 * * * * /usr/bin/freshclam --quiet
Now enable clamd service file.
cat /etc/clamd.d/scan.conf | grep -v "#" | awk 'NF'
LogFile /var/log/clamd.scan
LogSyslog yes
LogRotate yes
LocalSocket /run/clamd.scan/clamd.sock
SelfCheck 86400
User root
chmod 755 /var/run/clamd.scan
systemctl enable clamd@scan.service
systemctl start clamd@scan.service
verify clamd socket.
netstat -a|grep clam
unix 2 [ ACC ] STREAM LISTENING 57645 /run/clamd.scan/clamd.sock
That should take care of everything. Enable verbose logging in scan.conf and freshclam.conf until it is running the way you want.
Enabling the antivirus app for files
Place the files_antivirus app into the apps directory of Nextcloud server. Then the app shows up on the Nextcloud Apps page where it simply can be enabled.
Configuring ClamAV on Nextcloud ClamAV runs in one of three modes:
- Daemon (Socket): ClamAV is running on the same server as Nextcloud. The ClamAV daemon, clamd runs in the background. When there is no activity clamd places a minimal load on your system. If your users upload large volumes of files you will see high CPU usage. This is the recommended option for using ClamAV on the same server. This is less resource-intensive compared to the executable mode.
- Daemon: ClamAV is running on a different server. This is a good option for Nextcloud servers with high volumes of file uploads.
- Executable: ClamAV is running on the same server as Nextcloud and the clamscan command is started and then stopped with each file upload. clamscan is slow and not always reliable for on-demand usage.
Settings > Security > Antivirus for files
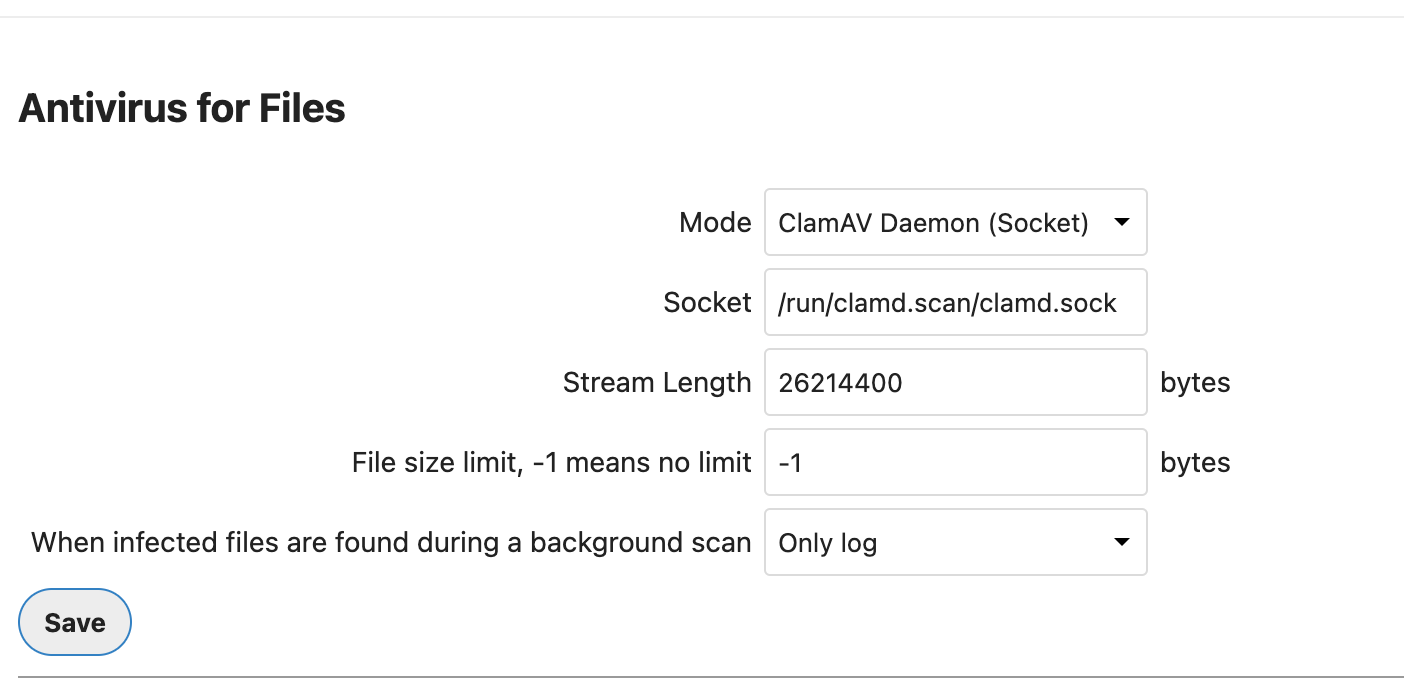
Action for infected files are found during a background scan gives you the choice of logging any alerts without deleting the files, or immediately deleting infected files.
Now Nextcloud server will automatically run a virus scan every time on newly-uploaded files.
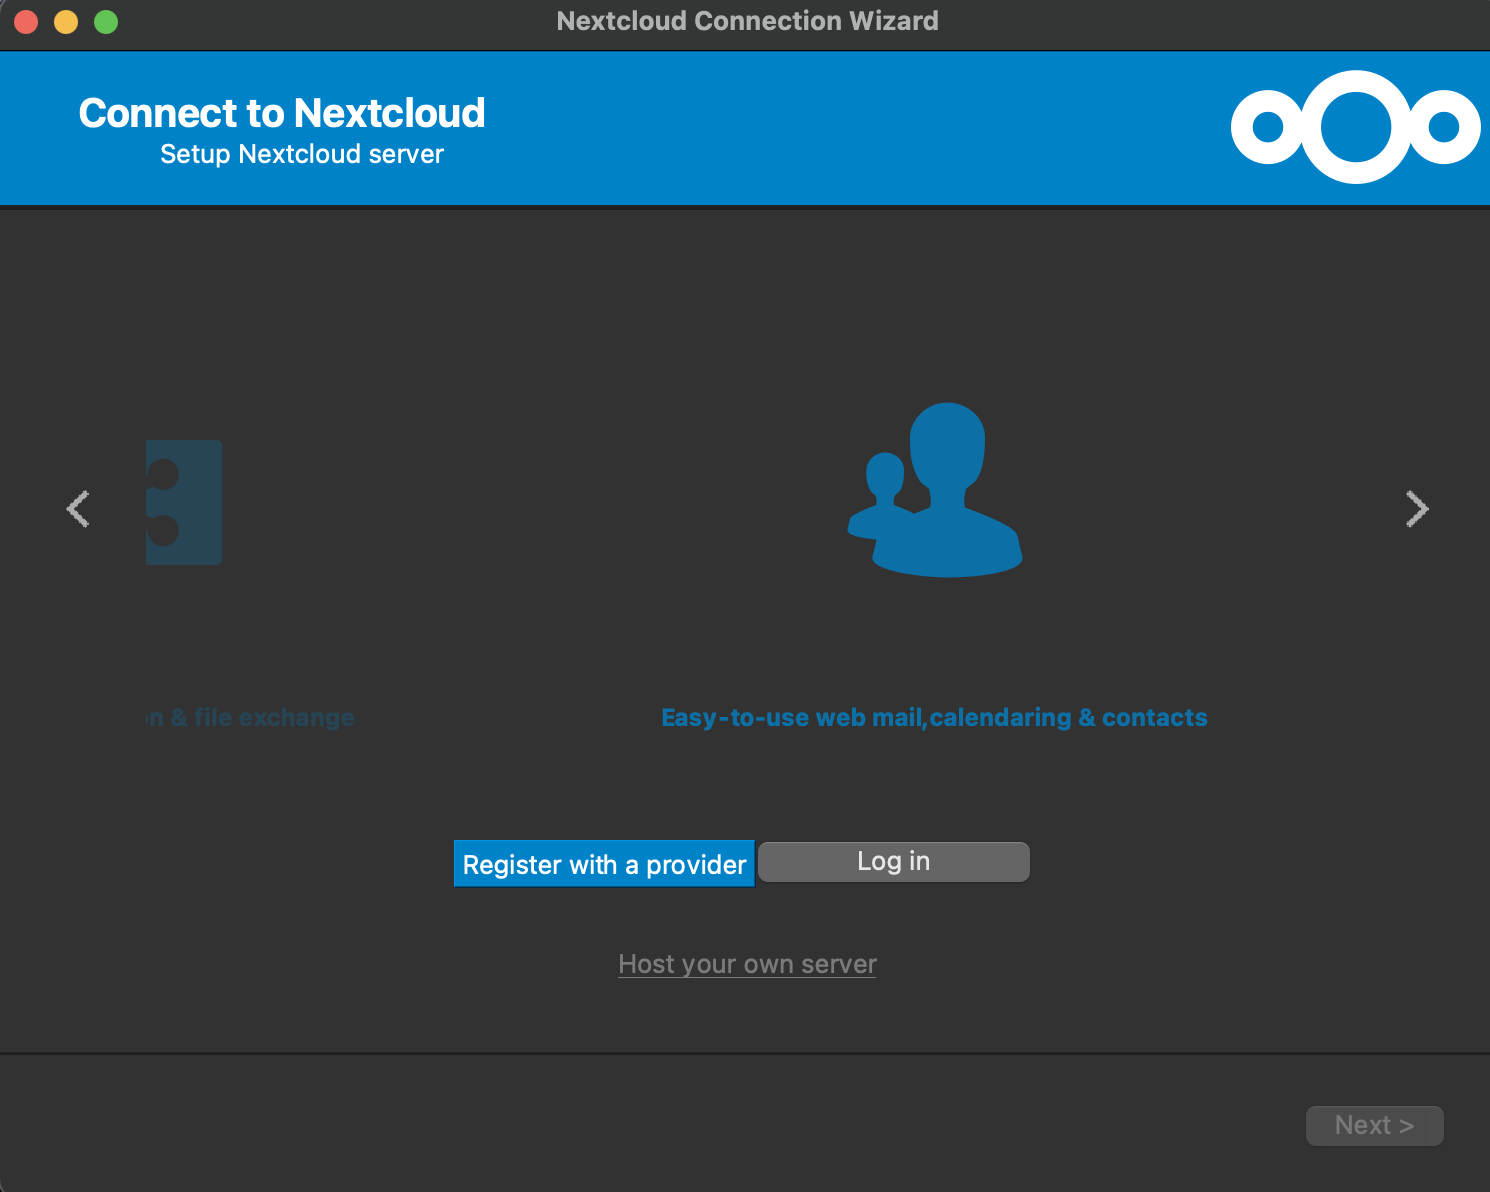
Mobile and desktop clients
Download Desktop Clients according to your distribution. Available on Windows, macOS and Linux.
Open desktop Nextcloud application and Click on LOGIN IN
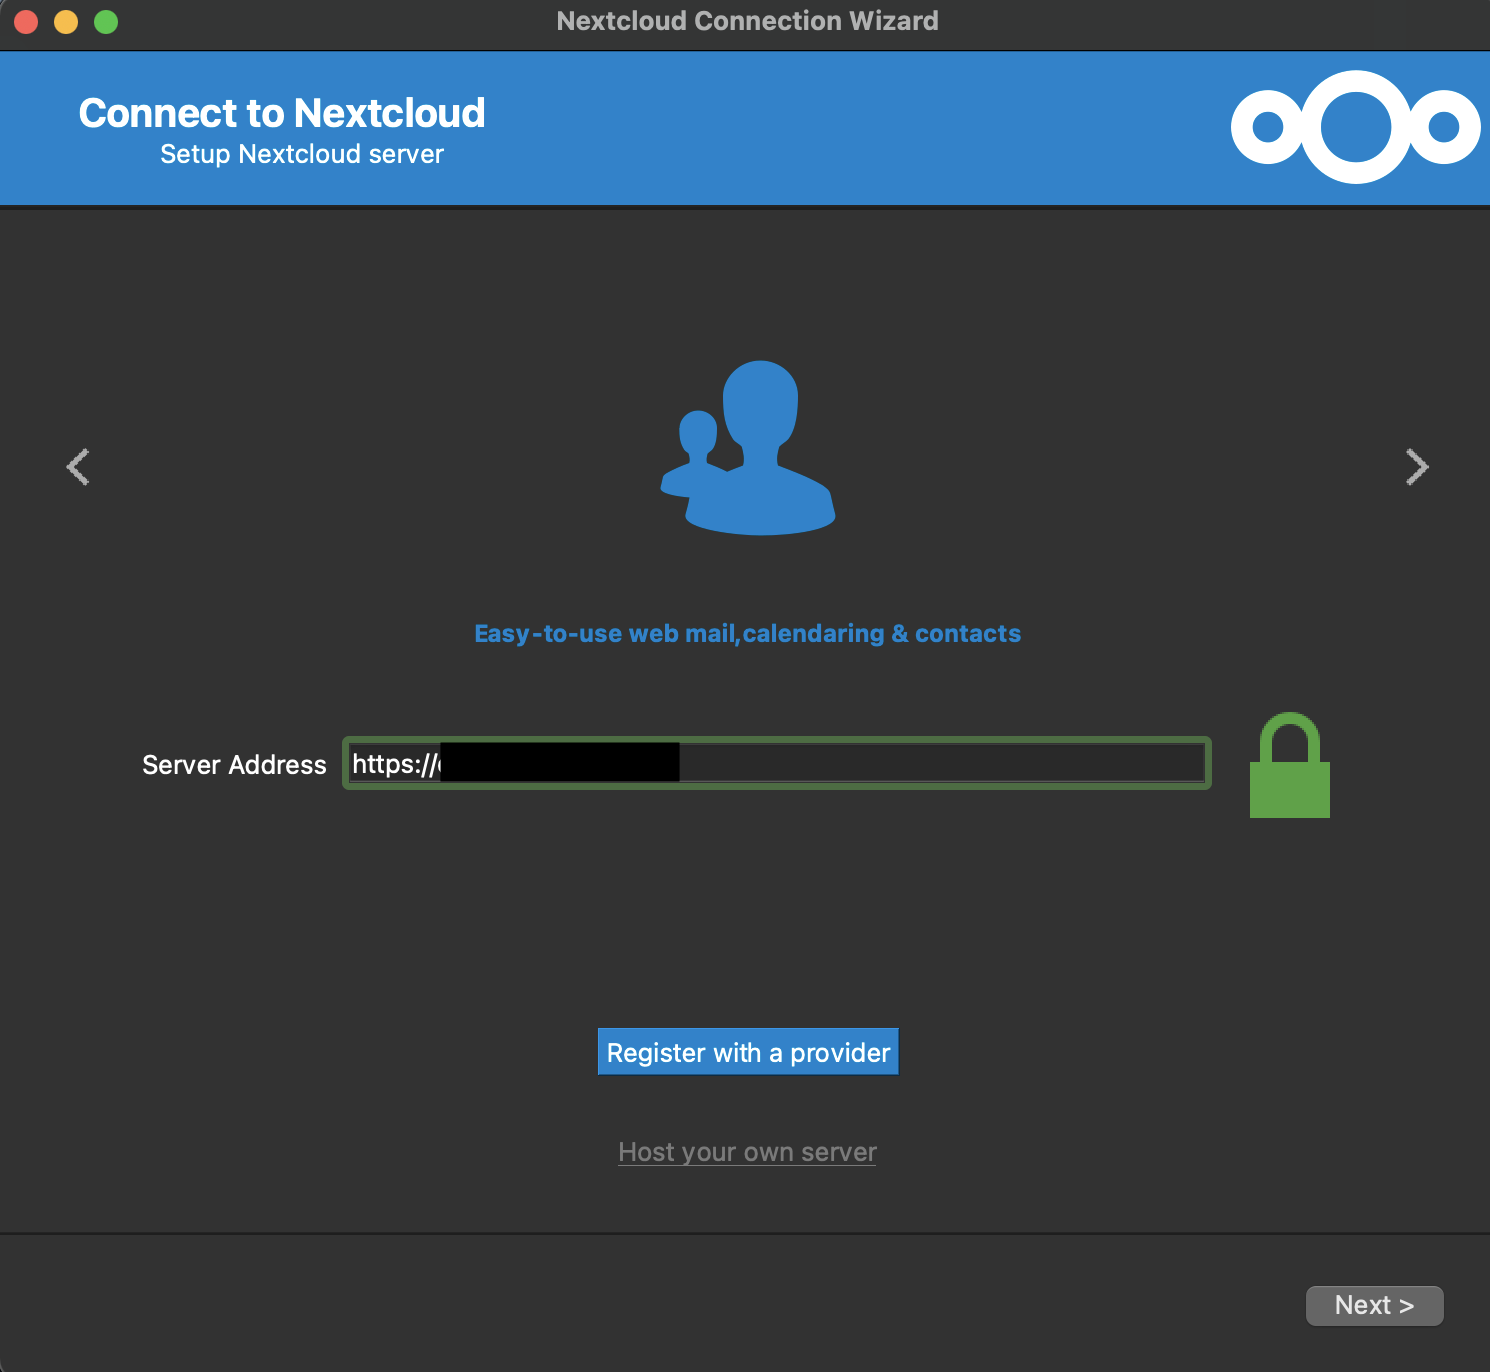
Server Address: https://drive.bidhankhatri.com.np and NEXT
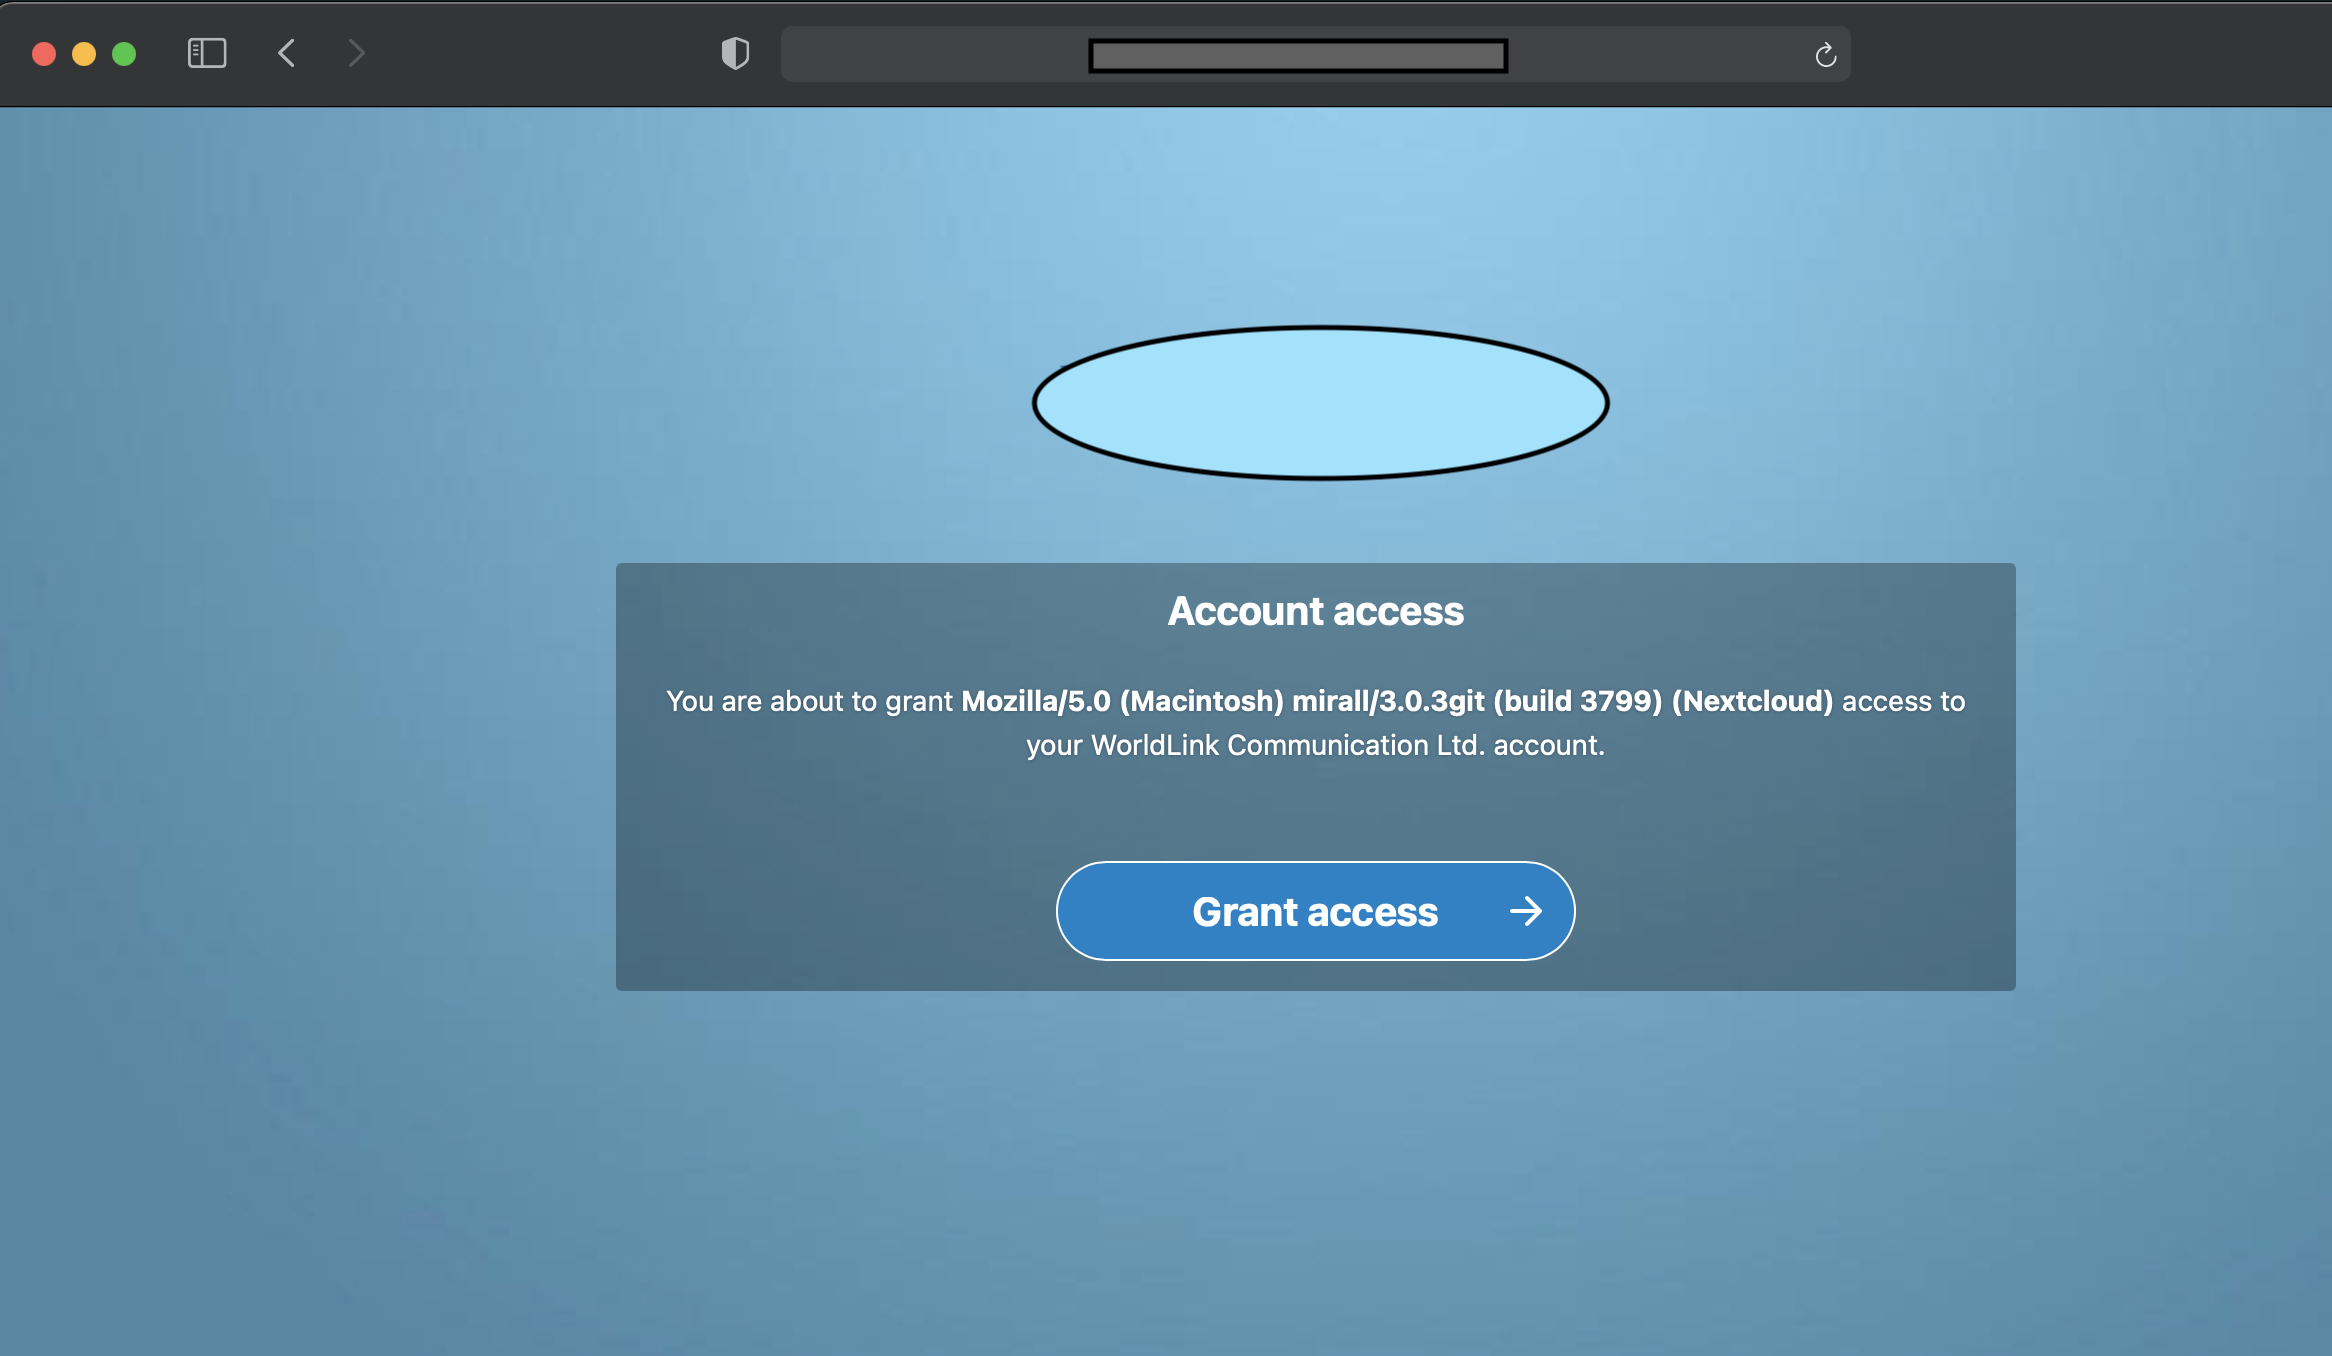
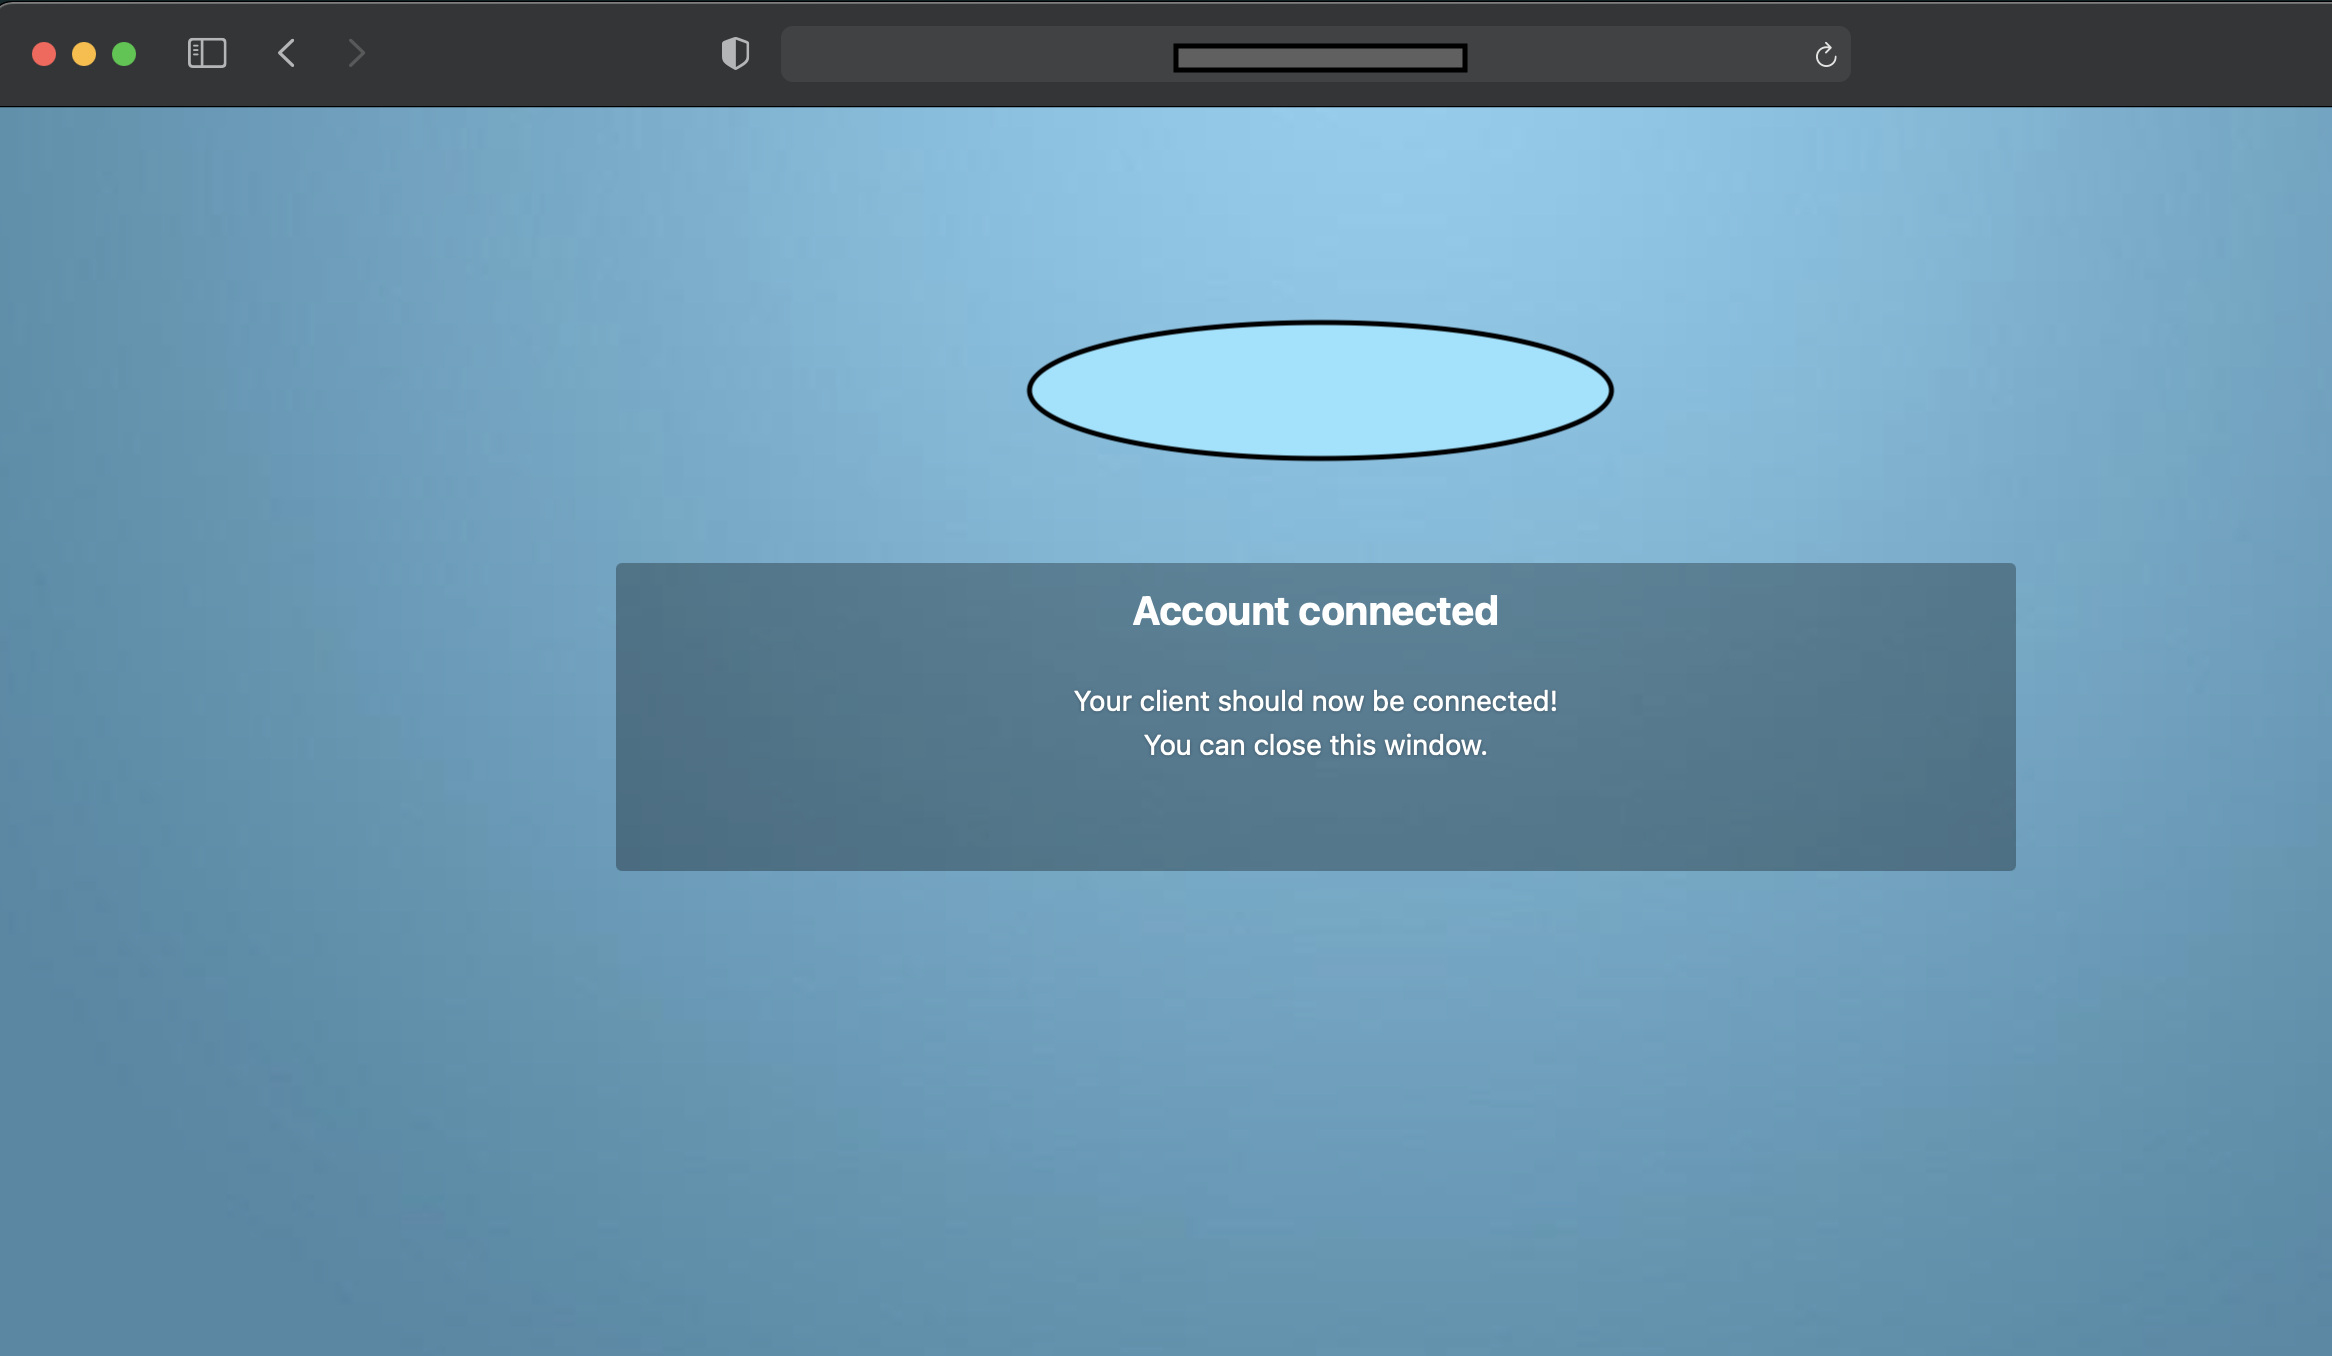
Login to https://drive.bidhankhatri.com.np through your browser providing your user credentials. Click Grant access

NextCloud Client is also available on iOS and Android.
Client-side Encryption
If you want to provide extra security to your data then you can use Cryptomator.
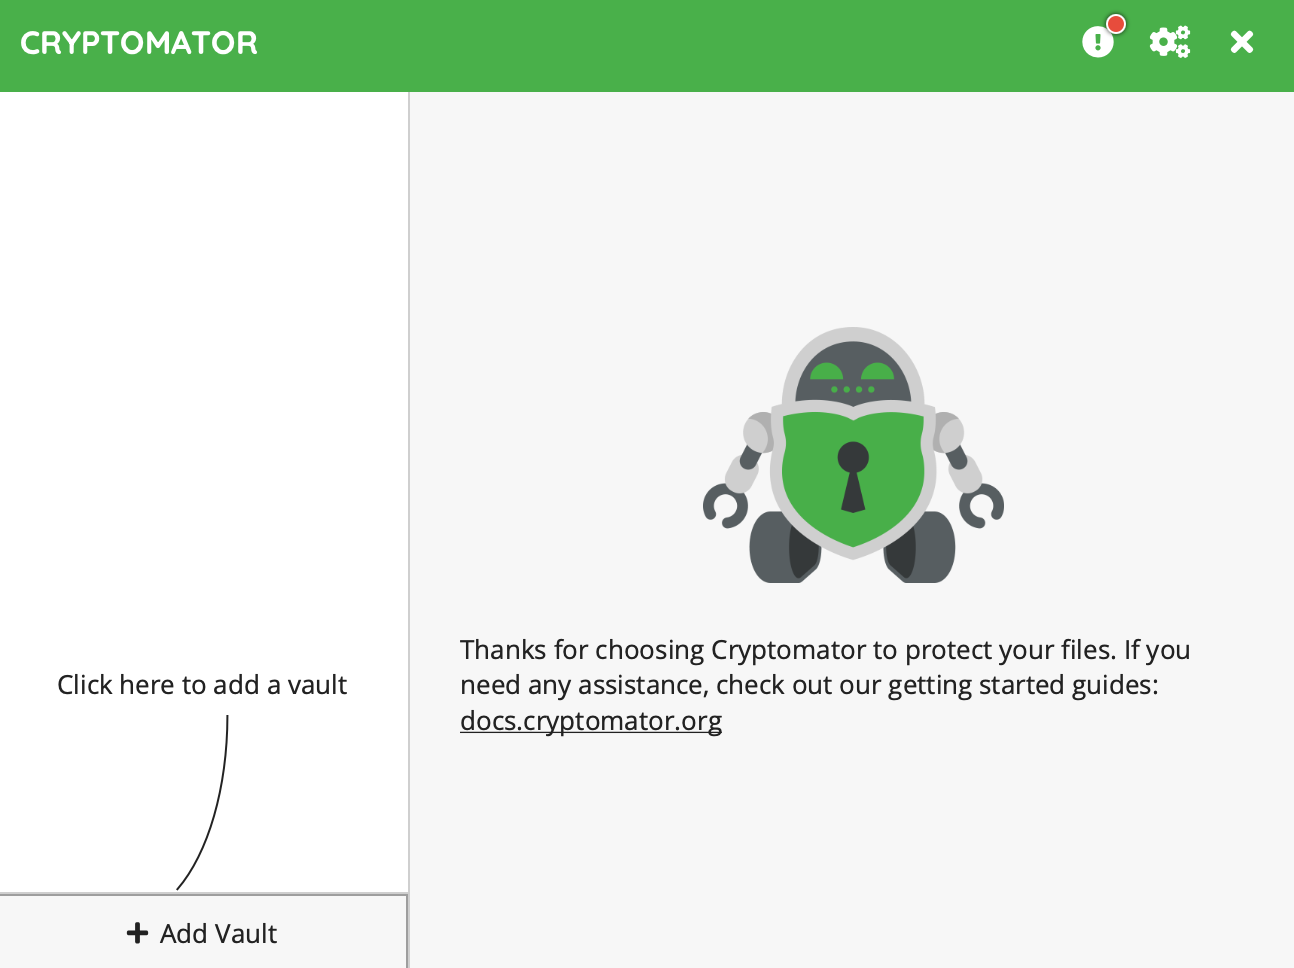
Cryptomator
Cryptomator allows you to protect your cloud data by yourself and independently. Cryptomator adds an extra layer of security to “cloud services” and makes your files illegible for third parties or even system administrators. Cryptomator offers an extra layer of security on the client-side: your computer, smartphone or tablet. As soon as you store something in the Cryptomator vault, your files will first receive special treatment. They are made illegible with extra encryption before they end up in the cloud. Even the names of files and folders cannot be traced.
How does Cryptomator protect your data?
Cryptomator’s technology meets the latest standards and encrypts both files and filenames with AES and 256 bit key length.
- To start with Cryptomator, you assign a password for a folder - we call it a vault - within your cloud. That is all. No complicated key creation, no registration, no configuration!
- To access the vault, simply enter the password again. You will be provided with a virtual encrypted drive to which you can move your data - just like a USB flash drive. Every time you store something on this drive, Cryptomator encrypts the data automatically. Pretty simple.
- The technology behind this is state-of-the-art and encrypts both files and filenames with AES and 256 bit key length. This means: if someone looks into the folder in your cloud, they cannot draw any conclusions about your data.
Download the Cryptomator app for your distribution. Available for macOS, Windows, Linux.
Open Cryptomator app > Click on Add Vault > Create New Vault > Choose a name for the vault (e.g “drive_SensitiveData” ) > Next > Tick Custom Location and choose a path for the folder (create new vault inside your Nextcloud Sync Folder inside your desktop) > Choose password for your vault and click on Create vault option. That’s it.
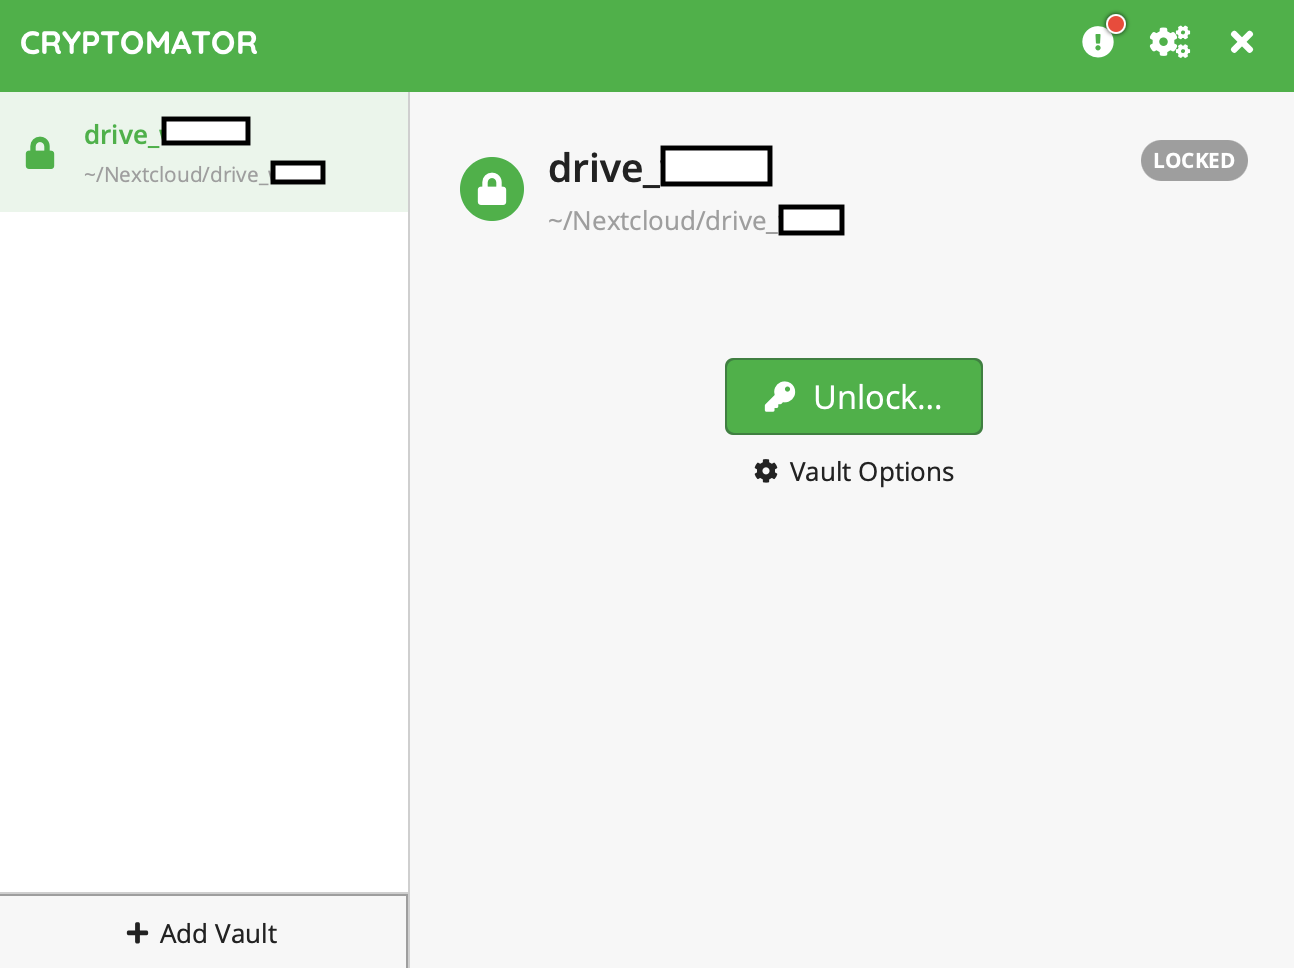
To place your data inside the vault, you have to unlock the vault first. Now vault will open as a virtual drive. Think of this drive as a USB Flash drive. This virtual drive is where we want to put all our sensitives files. Now drag and drop files inside the virtual drive. By doing so, these files are automatically encrypted and stored in our previously created vault. If we saved a file directly in the vault’s storage location, it would not get encrypted. When we are done working with our vaults files, we can lock our vaults and quit Cryptomator.


Leave a comment